Getting started
To begin using Klump as your preferred By Now, Pay Later solution, you must first create an account. Simply register as a merchant via the merchant dashboard. When you're finished, log into your account, go to the settings page, check the API & Webhook tabs, and copy your Klump public key. We'll be needing it soon.
To begin integrating Klump as a merchant, simply place the klump.js script in the header section of your website. When you finish this process, you'll be halfway there.
<script src="https://js.useklump.com/klump.js" defer></script>
Klump Checkout Button.
The checkout button is the fastest way to start accepting payments using Klump. We recommend that you include it on your website's product details page or checkout page. To activate the checkout button, simply copy and paste this code: <div id="klump__checkout"></div>, this will automatically launch the Klump checkout button on that page.

Klump Checkout Button.
Klump Checkout Widget
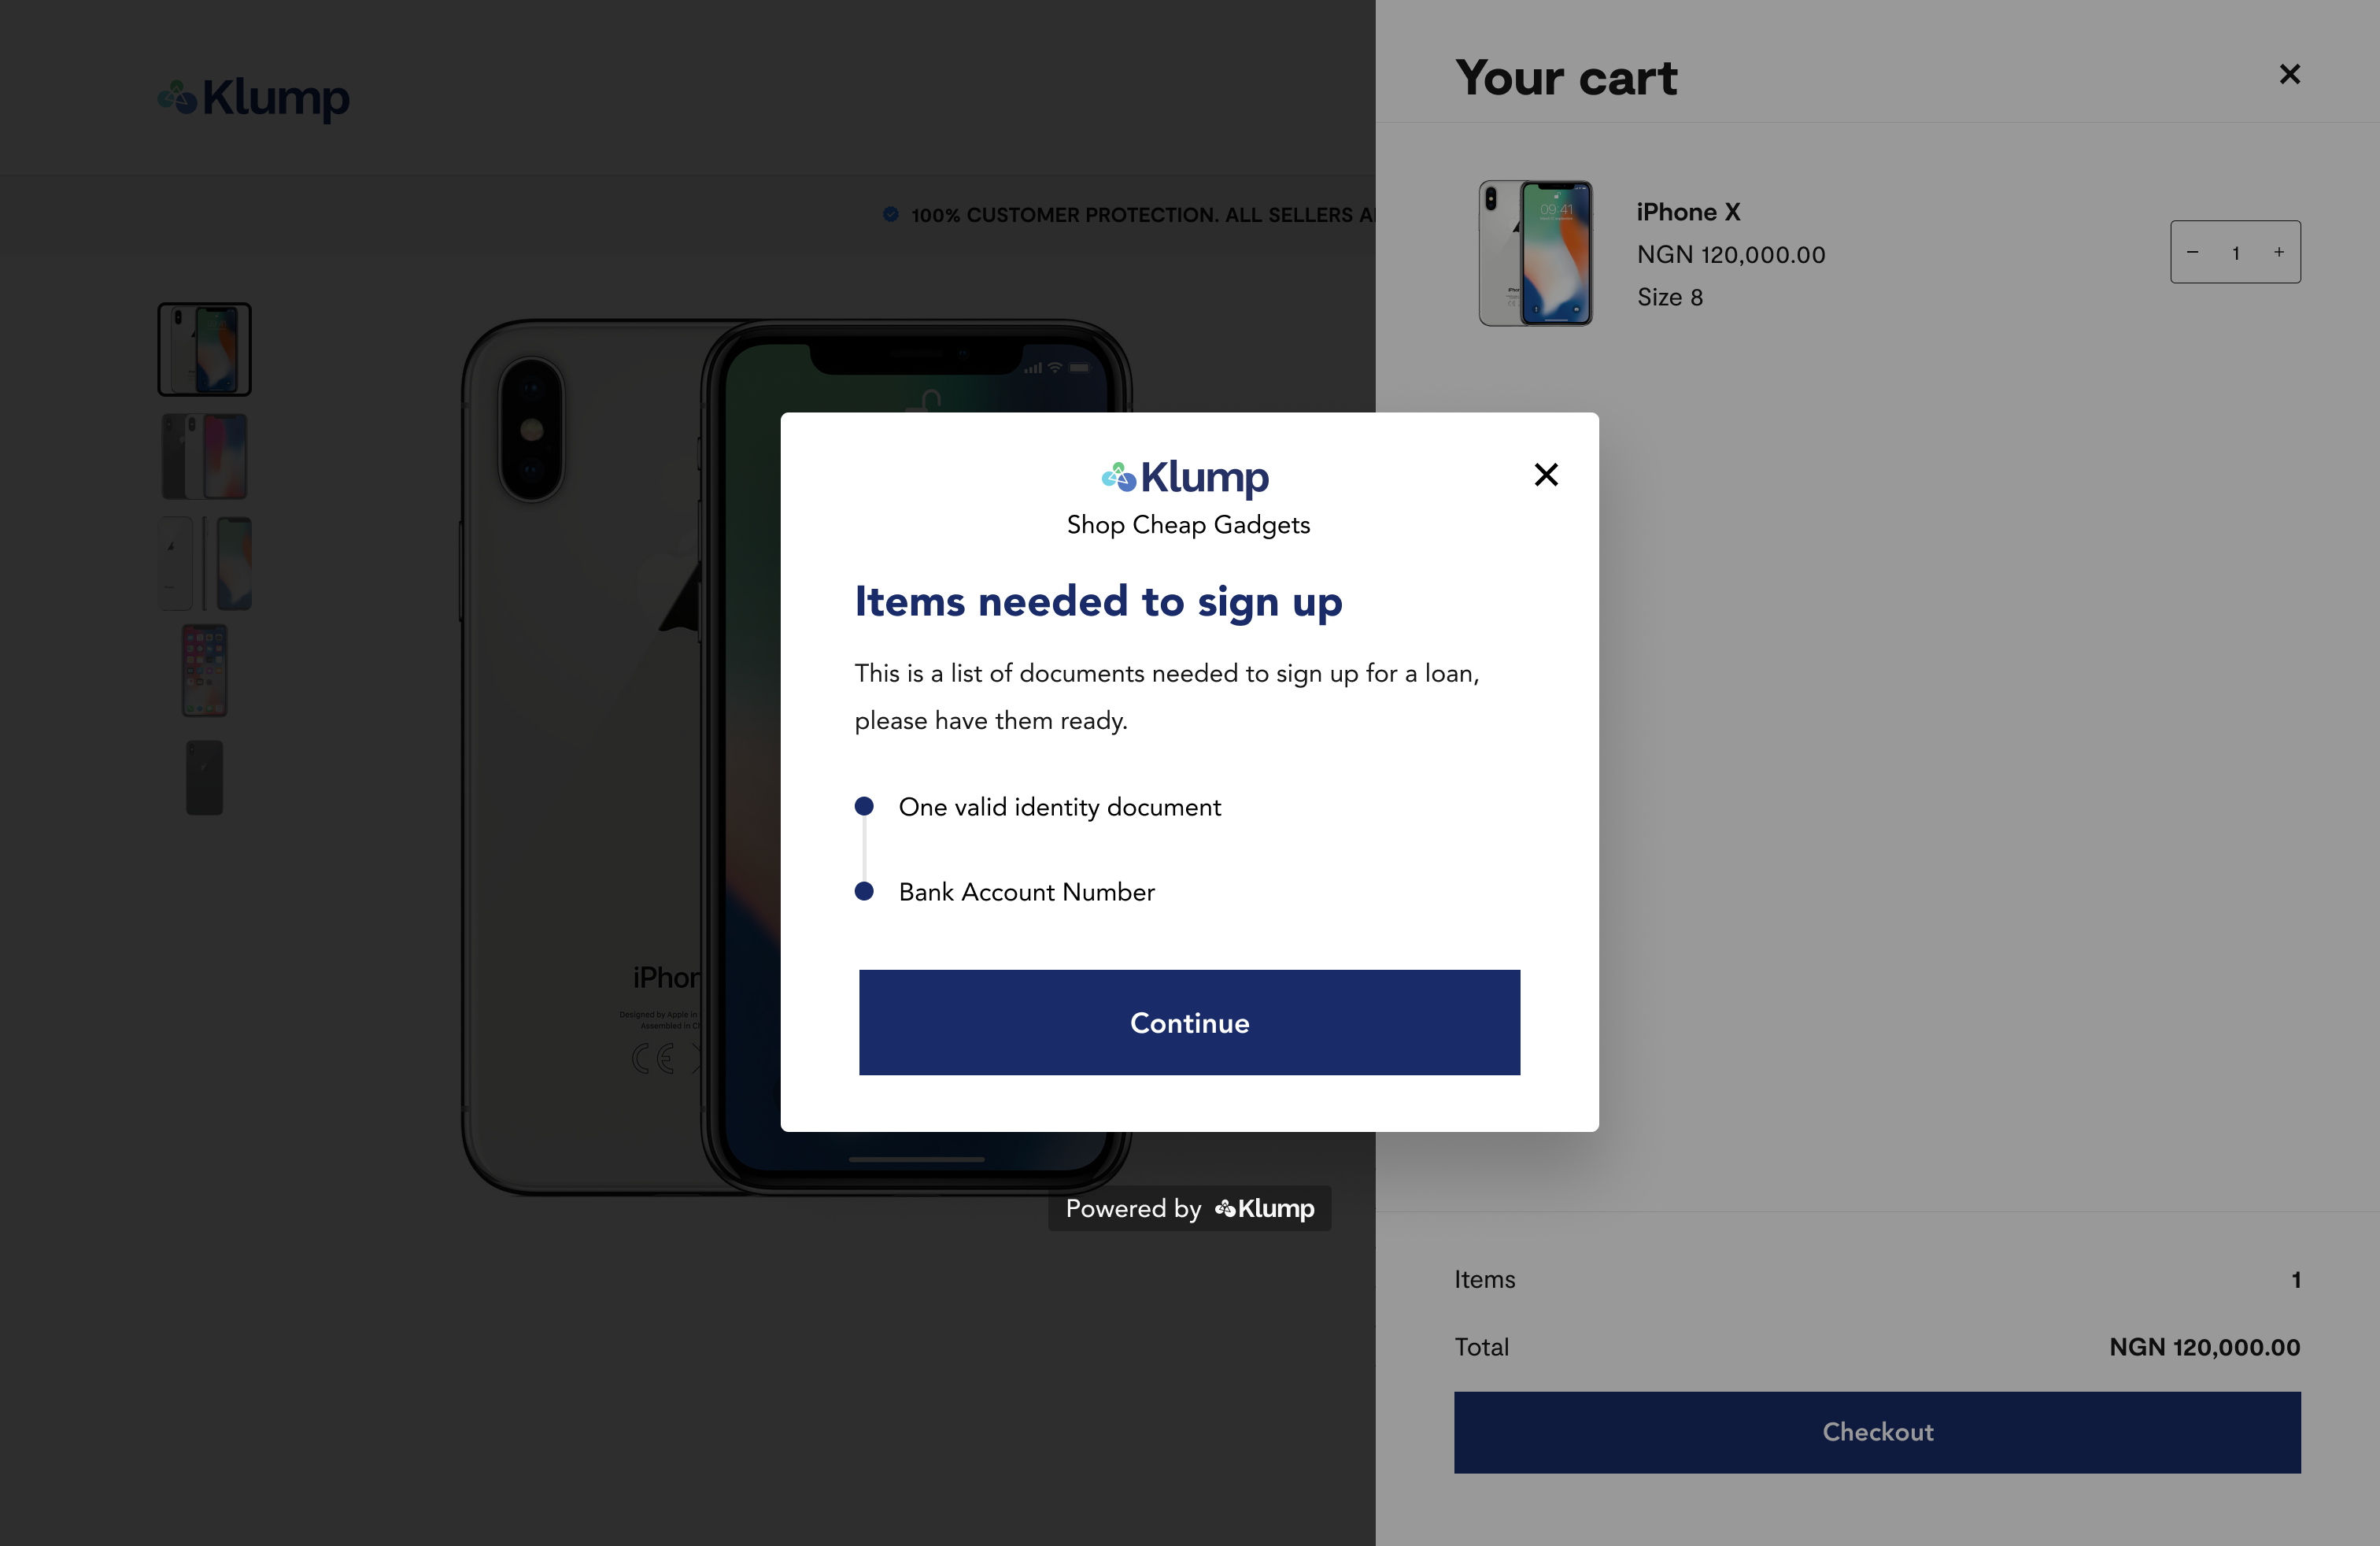
The checkout widget is where the transaction happens. The widget is ONLY activated when a user clicks on the Checkout button. The merchant, but installing the button via <div id="klump__checkout"></div> isn't the end of the road, we need to attach an event handler to it and also pass the product/item information to an instance of Klump.

Klump Checkout Widget.
Sample code initialization for the Klump checkout button that triggers the Klump checkout widget.
<script>
    const payload = {
        publicKey: 'klp_pk_1234abdc5678',
        data: {
            amount: 4100,
            shipping_fee: 100,
            currency: 'NGN',
      	    first_name: 'John',
            last_name: 'Doe',
            email: '[email protected]',
       	    phone: '08012345678',
            redirect_url: 'https://verygoodmerchant.com/checkout/confirmation',
            merchant_reference: 'what-ever-you-want-this-to-be',
            meta_data: {
              customer: 'Elon Musk',
              email: '[email protected]'
            },
            items: [
                {
                    image_url:
                        'https://s3.amazonaws.com/uifaces/faces/twitter/ladylexy/128.jpg',
                    item_url: 'https://www.paypal.com/in/webapps/mpp/home',
                    name: 'Awesome item',
                    unit_price: 2000,
                    quantity: 2,
                }
            ]
        },
        onSuccess: (data) => {
            console.log('html onSuccess will be handled by the merchant');
            console.log(data);
            ok = data;
            return data;
        },
        onError: (data) => {
            console.log('html onError will be handled by the merchant');
            console.log(data);
        },
        onLoad: (data) => {
            console.log('html onLoad will be handled by the merchant');
            console.log(data);
        },
        onOpen: (data) => {
            console.log('html OnOpen will be handled by the merchant');
            console.log(data);
        },
        onClose: (data) => {
            console.log('html onClose will be handled by the merchant');
            console.log(data);
        }
    }
    document.getElementById('klump__checkout').addEventListener('click', function () {
        const klump = new Klump(payload);
    });
</script>
From the code above, the Public Key(publicKey) required is the Klump merchant's public key that we mentioned above. You will need it here. The data object carries some important information like amount which is the total transaction amount.
The next item in the data object is the shipping fee(shipping_fee) optional. The shipping fee here is optional as not all merchants will need to ship their products or services.
Currency(currency) required is the next item in the data object. Today, all currency must be set to NGN given that Klump is only operational in Nigeria.
From the data object above, first_name, last_name, email, phone are all optional fields.
Redirect URL(redirect_url) This isn't required but can come in handy for merchants who want to show their customers a custom message or a confirmation page after a successful transaction.
Merchant Transaction reference(merchant_reference) isn't a strictly required field, Klump allows a merchant to send their own reference. This is mostly for the merchant's internal use.
Metadata(meta_data) - This is another field that isn't required, but merchants can use it to store personal information relating to an order.
Items(items) required is the next key in the data object. It must be set as an array and should have the following required keys unit_price, quantity and name. Unit price(unit_price) must always be an integer. Image URL(image_url) and item link(item_link) are nice to have as they provide a visual cue as to what was purchased and an easy path to viewing the said item. You can add as many products as necessary to the items array.
Transaction Amount
The
amounthere must be equal to the sum of the items in theitemsarray plus the optional shipping fee(shipping_fee). In the example code above, the amount is derived using the formula belowamount = (unit_price * quantity) + shipping_feePlease note that if the
amountprovided doesn't match the sum of unit price, quantity and the optional shipping fee, the transaction wouldn't be accepted.PS:
amountandshipping_feemust be integers.
At the end of every successful transaction, it's advisable that you verify the transaction before giving value. You can verify a transaction using the transaction Transaction verification endpoint or via webhooks.
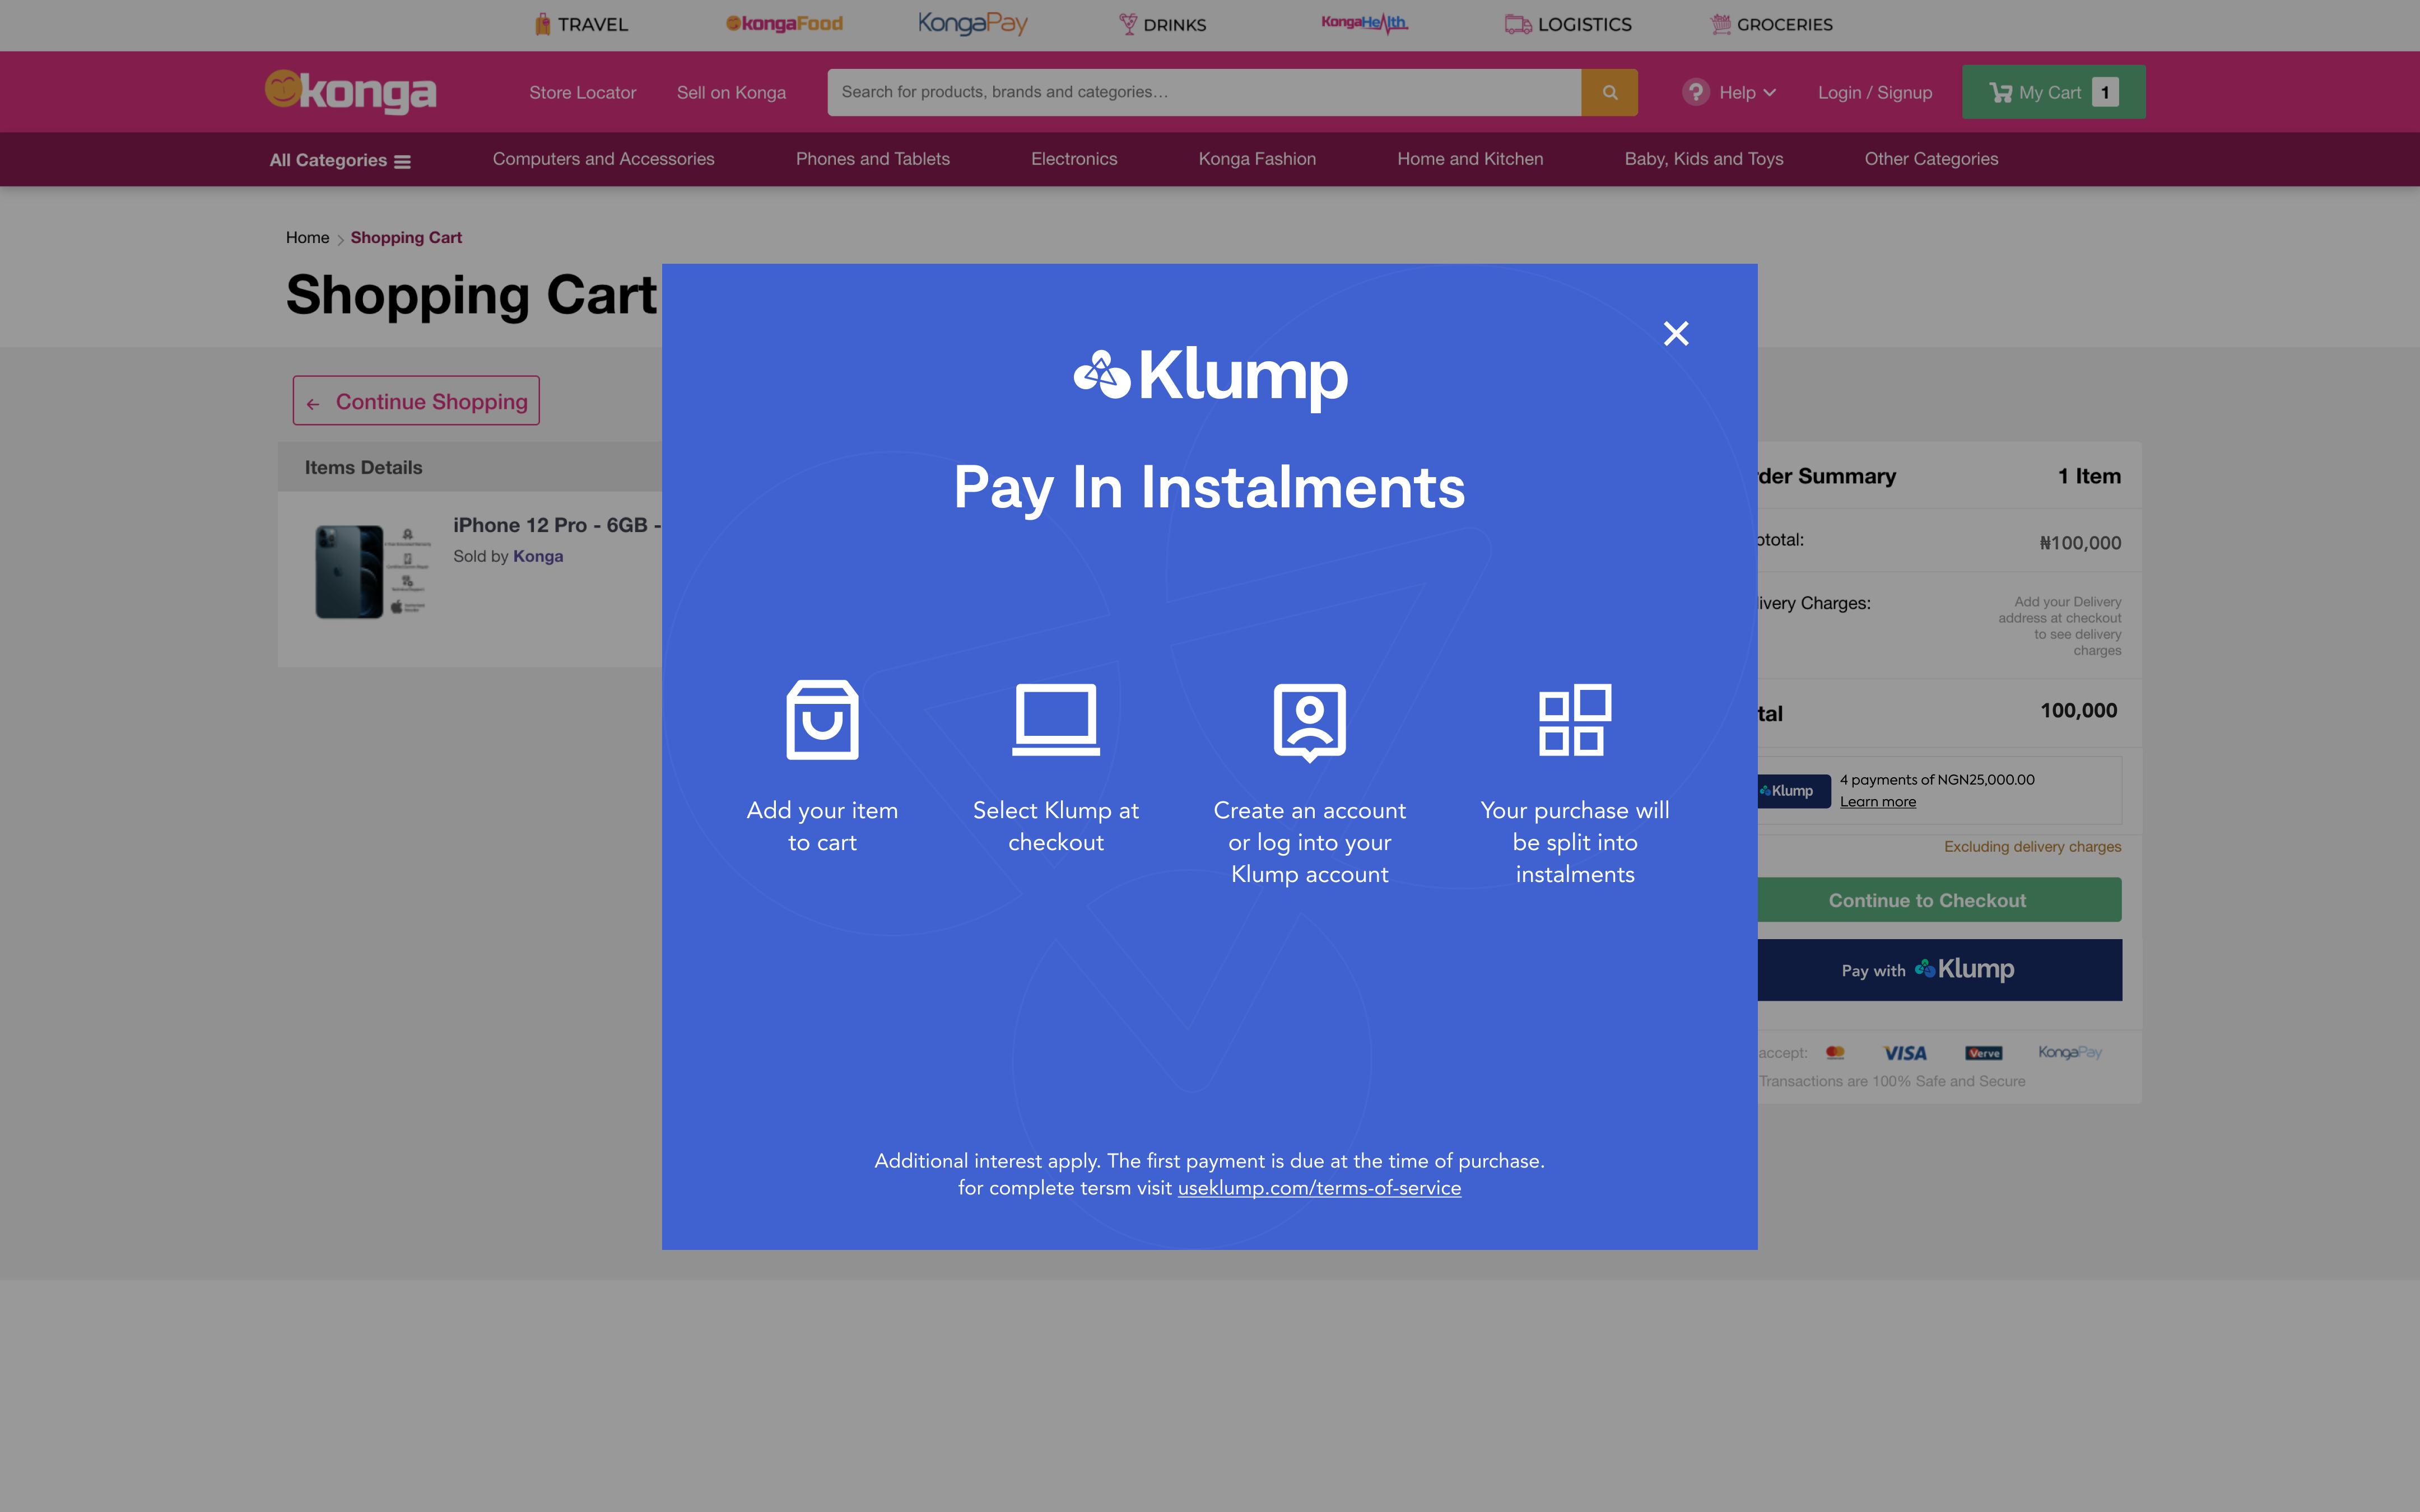
Klump Call To Action Banner
Using a call-to-action banner is one of the simplest ways to sell Klump to prospective customers without them having to click the checkout button to find out for themselves. The banner provides a simple and easy-to-understand message that sells Klump to your customer.
To integrate the Klump call-to-action banner, simply add the line of code below to the location where you want the ad to appear.
<div id="klump__ad">
    <input type="number" value="2000" id="klump__price">
    <input type="text" value="klp_pk_abcde12345fghijkl" id="klump__merchant__public__key">
    <input type="text" value="NGN" id="klump__currency">
 </div>
Please note, you will need to include 3 core components, the amount, the merchant public key and the currency. Please note, the amount, in this case, is 2000, the public key is klp_pk_abcde12345fghijkl and the currency is NGN.
When this is done correctly, a banner will appear on the part of the page where this was added.

Klump Call to Action banner
PS: You will need to include klump.js for this to work.
Updated 7 months ago
